
Below is a guest post entitled ‘How to Create a Traditional Style Living Room’.
S Interior Design often has residential design clients who have what could be described as traditional style furnishings that they want to keep, yet update with more contemporary surrounding design elements. One of our favorite things to do is to re-upholster a traditional style accent chair in modern fabrics. It becomes a unique piece that can be the focal point of a seating arrangement.
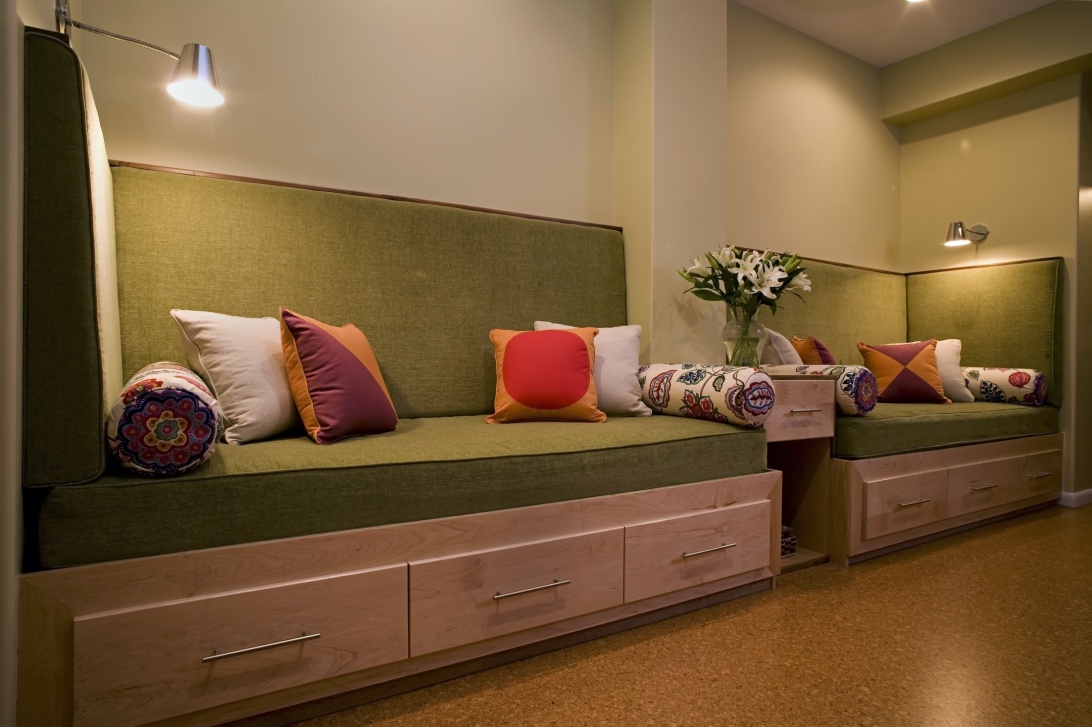
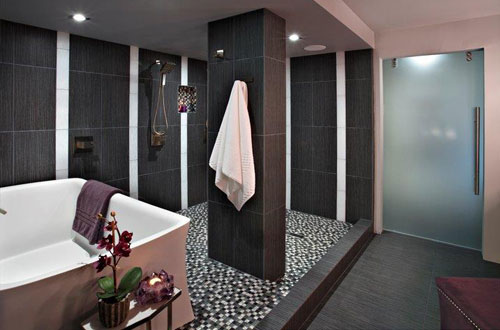
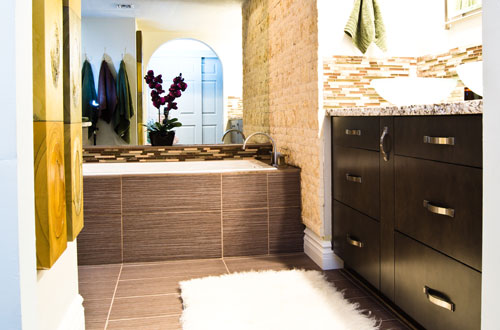
This is an example we completed recently.
 Now upholstered in this fabric

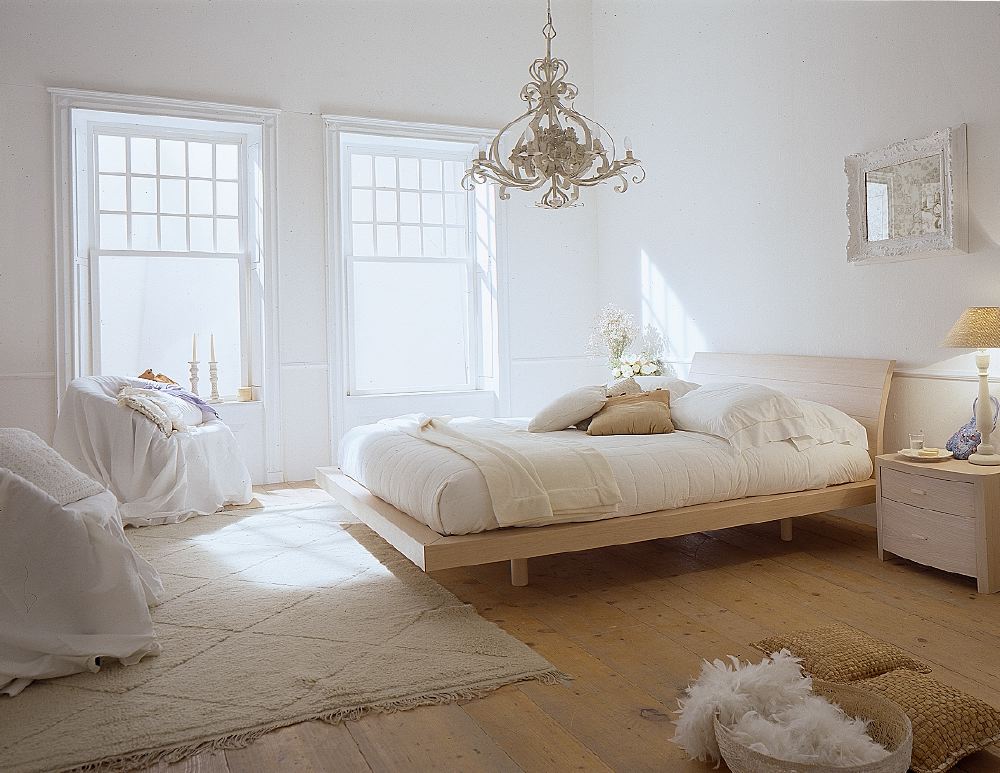
A home that mixes design styles is one that is reflective of the owner’s unique personality. Mix away and don’t be afraid!
Guest Post:
How to create a traditional style living room
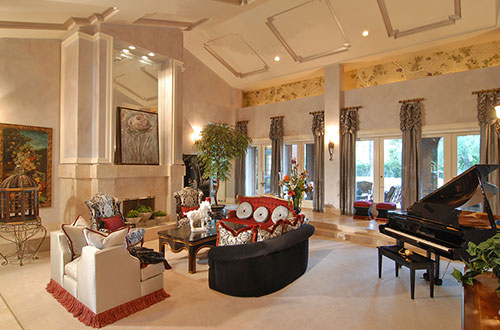
Not so long ago, traditional style was regarded as the grandmother’s home style, with impossibly uncomfortable furniture, pristine carpets and vintage wallpaper. I am very pleased to say that this is longer the case. Traditional home styles have been toned down considerably and are now more cleanly lined than ever. The traditional style covers a wide range of time periods and cultures, and can include just about anything, whether ornate and opulent or simple and spare. One of the reasons this style is regarded as traditional is due to the familiarity of silhouette and the use of architectural details.
Quite often, living rooms with a traditional style tend to be older and possess an abundance of suave architectural details such as elaborate chunky moldings, columns, arches, wood floor patterns, and inbuilt cabinetry. The reason these shapes are familiar is because they have a real sense of historical influence. The majority of the textiles and furnishings are labeled “traditional” because the patterns and shapes have been used for long periods of time.
Traditional style is no longer stale or fussy; instead it is now more casual and welcoming. The traditional style is literally the little black dress of the design world, looks great, always appropriate, feels fantastic, and goes with just about everything.
Below are a few ideas to help you create a traditional style living room:
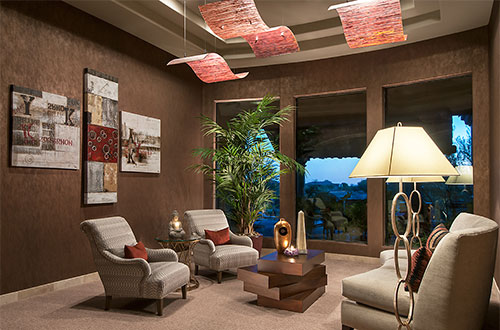
Textiles
Luxurious fabrics can be used in traditional style but not limited to cashmere, velvet, mohair, and silk. Other more humble fabrics such as cotton and linen can also be found. In reality, not many homeowners can get away with a sofa that is upholstered in high maintenance fabrics such as silk, but this doesn’t mean they can’t be utilized in low traffic areas such as pillows or curtains. Start off with a pivotal fabric and then blend other patters from the same color palate. A layering of texture and pattern will add interest to the space. Damask, paisley, floral, and even geometrics are common patterns. Rugs are highly people because traditional homes usually have very hard floors, either tile or wood.
Artwork
Artwork introduces texture, mood, personality, and color. It is often beneficial to choose room arrangements and a color palate based on a great art piece. If you do not have the budget to buy a large piece of art, there are other more cost-effective ways to create impact. Try grouping similar images in matched frames to create a graphic punch.
Colors
Try to develop a consistent theme throughout your living room that is based on color. Neutral color tones are often utilized on large upholstery pieces and walls. Homeowners and designers often mute color pallets to show off other elements such as rugs and impressive pieces of art. An all white color palette is extremely popular because it can lend both minimalism and opulence depending on how it’s applied. Balance should be one of the key considerations when choosing colors; you should only use bright colors if they are offset by neutral tones.
Furnishings
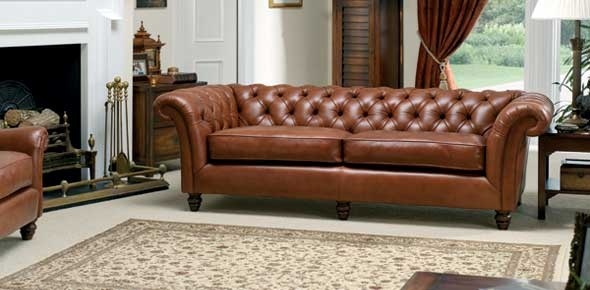
Furnishings found in traditional styles commonly have a familiar shape that is recognizable and iconic to the majority of people. A perfect example of this is the wing back chair; although it is quite often reinterpreted and updated, it is mostly at home in traditional décor styles. Pieces of upholstery are often comfortable and neutral, a lot less fussy than in previous years. Traditional leather sofas are available in a variety of colors and styles; these can be mixed with contemporary pieces, reproductions, and antiques to create a relaxed feeling of elegance. Painted pieces and rich wood tones are also common in traditional styling.
Piecing it all together
The key to a great living space is the way in which pieces are put together. Be sure to create a focal point, this will give the human eye a resting place. Not only does it ground the room, but everything can be positioned in relation to it. Focal points can be artwork, a fireplace, or even an item of furniture such as a sofa or bed. Make use of symmetry to keep a sense of balance within the space. For example, you could have two chairs on either side of your fireplace. They do not have to be identical, but they should have similar proportions.
Author byline:
This article was written by David at Thomas Lloyd Leather Furniture, David is an interior design and home improvement enthusiast that has written articles for numerous magazines and blogs.